|
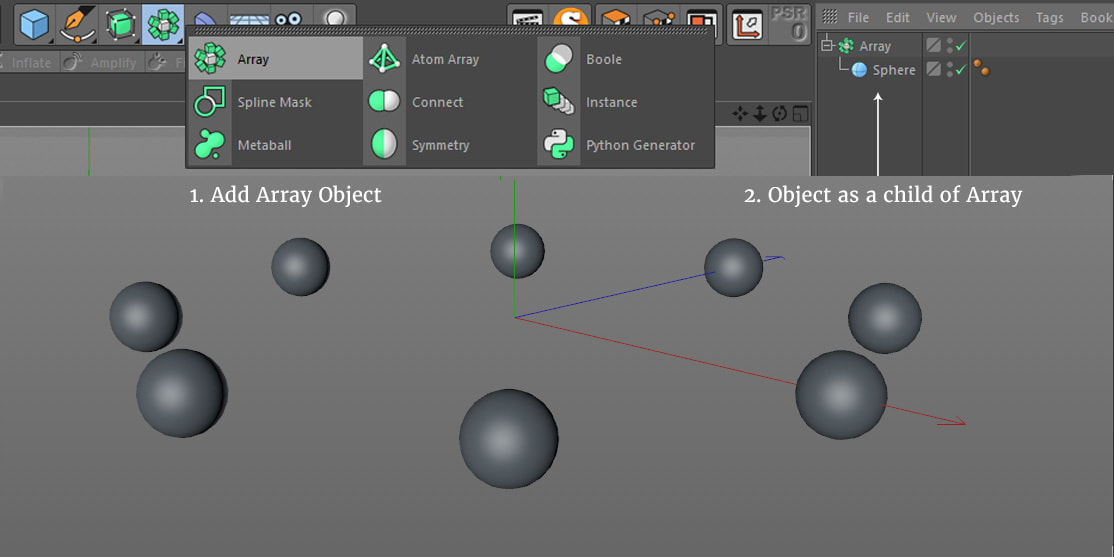
I am slowly learning Blender and all it's small tricks to make things done. One way to learn more effectively is with sharing what you've learned and making tutorials. That was also the reason how this web-site happened. Today I am posting Blender workflow for using array modifier to clone objects in circular fashion. It's a matter of two clicks in Cinema 4D, but in Blender you have to follow procedure presented below.
0 Comments
I think I should definitely post more often on this blog, but at the same time the idea of #everydays, which is so popular over twitter and tumblr is for me at this time, a bit too much. But from this point on, I will make an effort to post more of 3D modeling tricks and tips and my works, especially variety of 3D renders made in Cinema 4D.
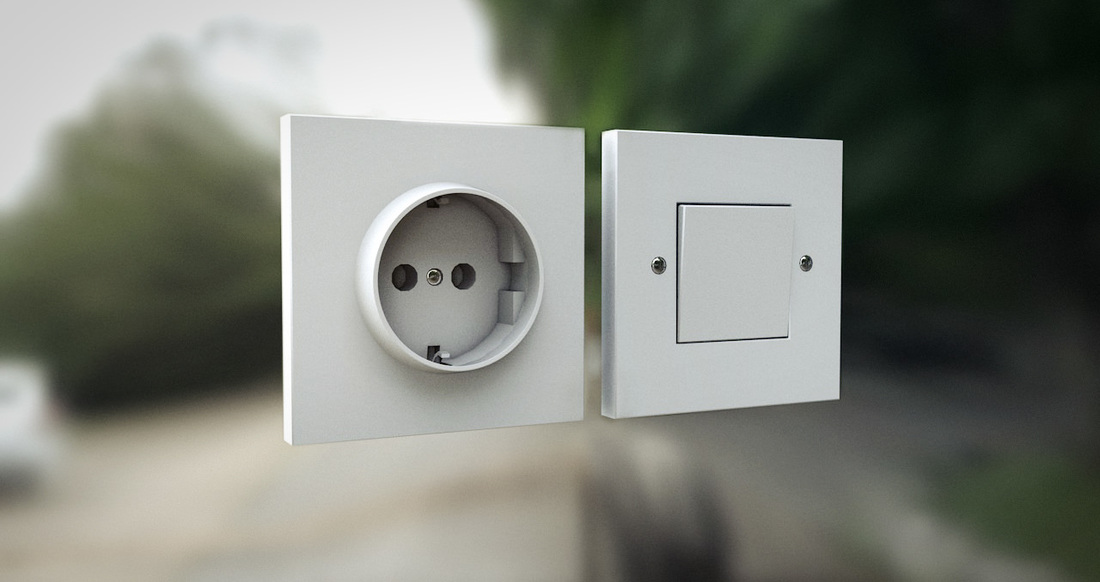
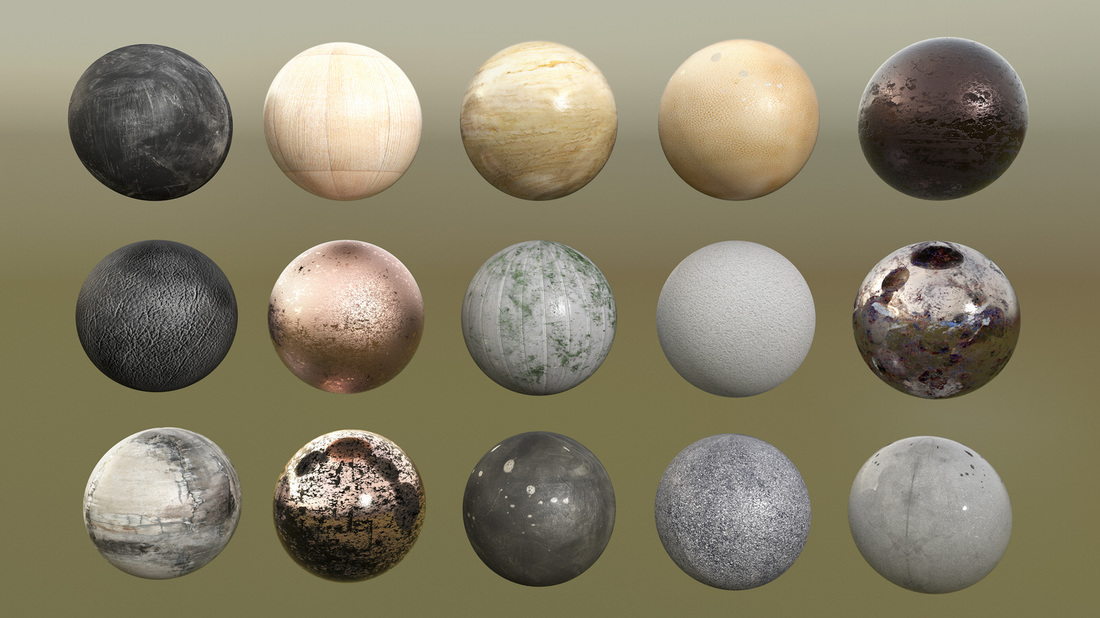
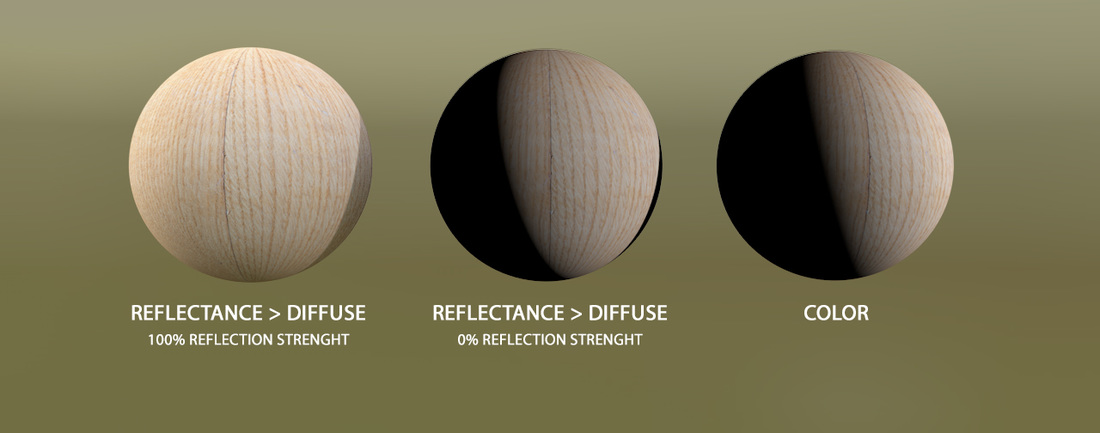
For example, a few days ago this render of 3D electrical switch and power outlet was created. These kind of small 3D models (low-poly and mid-poly) are always great as a instances to enrich and add more details in interior scenes, just like the one I am working on right now for an upcoming short animation ;). Last time I shared my workflow on how I create most of the materials with Physical render in Cinema 4D. If I briefly recap, I use Reflectance channel within which I create two layers, diffusion that uses Lamberitian type of reflection and Reflection layer with GGX or Beckmann reflections. I load my diffuse/Albedo map in layer color section of Diffuse. In the C4D help files they recommend that you use textures map in color channel, but I like it better if I load them in Reflectance, because you get better result and you can actually go back to "color" look pretty simply - you just decreases the reflection and increase specular strength in the same layer.
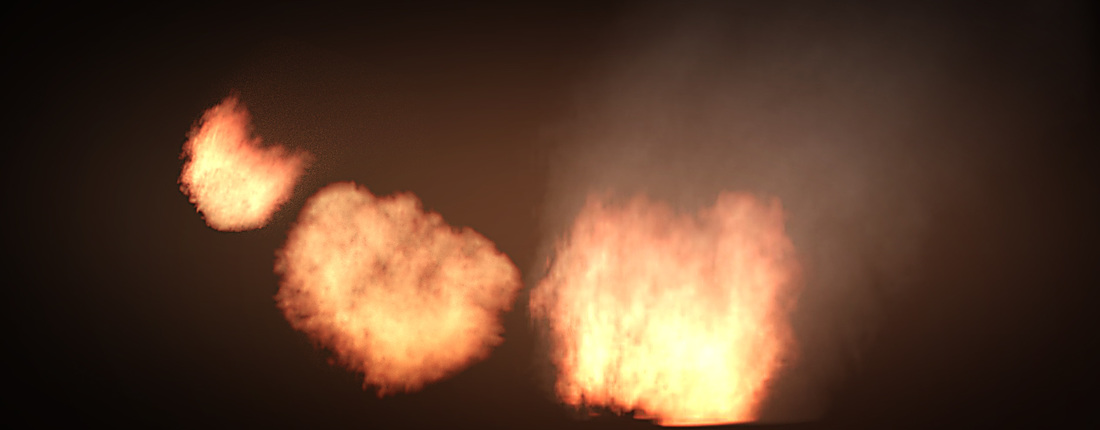
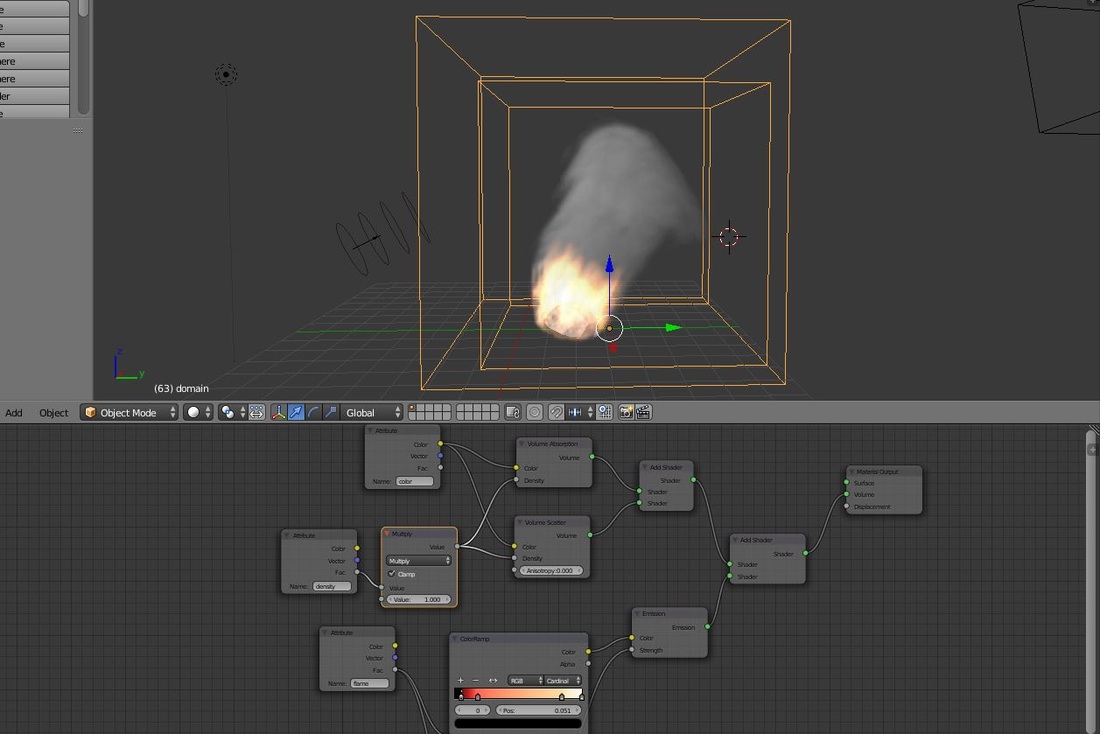
I always like to explore Blender's features, especially the simulations! This time I was trying to familiarize myself with cycles render and material note system for creating fire and smoke. It is smart to learn different programs, so you can combine and use the best functions. For example, in Making of Seed, Matthias Zabiegly from Aixsponnza shows us how they use Blender to adjust and remove UV distortion.
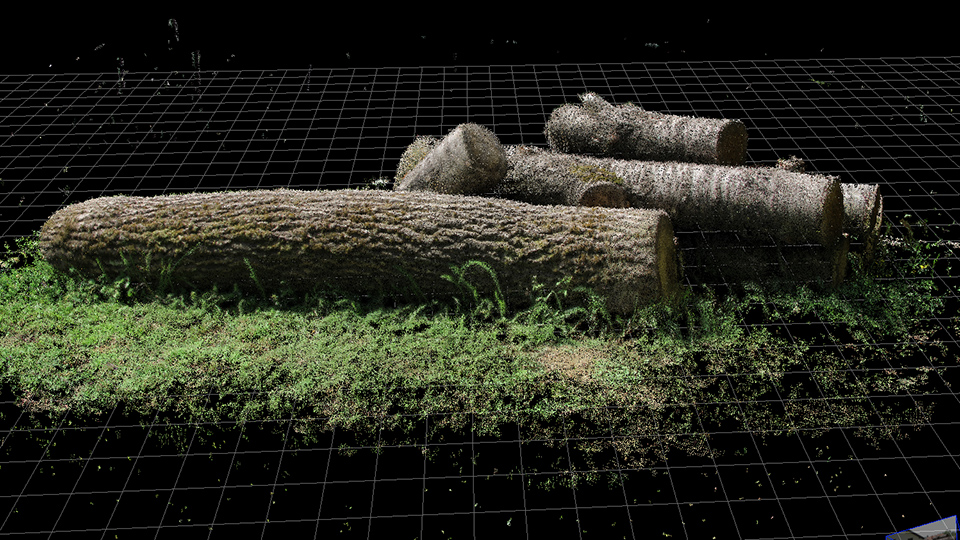
I've been trying out object 3D scanning from photos. This is one of the test, which was done pretty quickly. I only photographed 180° and it worked. I found that you need at least 20 photos going around the object multiplied by 3 different heights. The result is not too clean, but I hope that comes from my unfamiliarity with the software and the topic. For now at least. :)
|
Categories
All
Archives
December 2021
|

